Virtualization, Cloud, Infrastructure and all that stuff in-between
My ramblings on the stuff that holds it all together
HP ML115 G5 Autopsy (Motherboard Swap)
Following on from my iSCSI problems the other weekend one of my cheap vSphere hosts died and wouldn’t respond following a reboot.
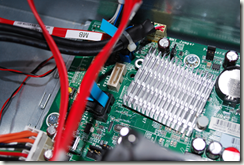
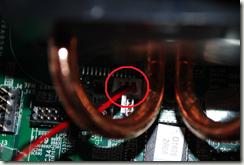
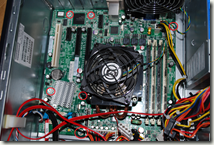
After some investigation and disassembling it would power-up and spin the fans but switch off after about 15 seconds, as everything is integrated onto the motherboard it wasn’t looking too repairable, one of the clips holding on this heatsink had broken; which I assume leads to overheating at boot time and had cooked the chip underneath.
Luckily it was still under warranty from HP; so a quick call to HP support in the UK (well the number is in the UK anyway :)) and a call was logged for a replacement motherboard and PSU (just incase); they did offer to send an engineer but I said I was ok fitting it myself and they shipped the parts next-day via courier.
Just incase you ever need to do the same here is a step by step for replacing the motherboard.
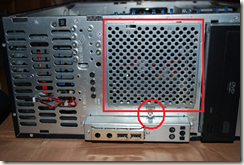
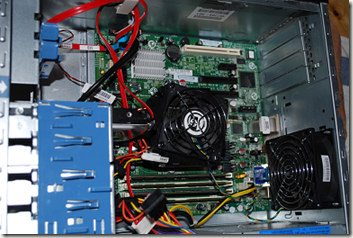
1st step is to remove the case – which is just a case of undoing the thumbscrew on the back and sliding the cover off.
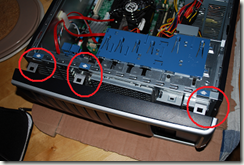
2nd step, remove the front bezel by pressing the tabs below – you will need to move the hard drive to remove the board
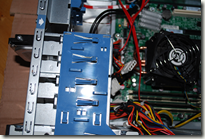
3rd step – remove the front of the drive cage by undoing the screw and removing the panel.
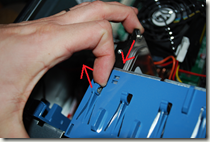
4th step lift the latch and slid the drive out of the way (you don’t need to totally remove it)
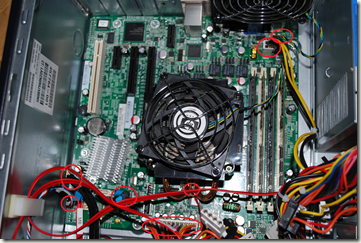
5th step, undo all the cables to the motherboard – try to remember where they came from
Be careful with the case temperature sensor – it’s quite tricky to get to without tweezers unless you remove the CPU 1st.
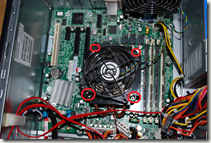
6th step – remove the CPU and fan/heatsink assembly by undoing the screws below – you’ll need a long torx or small flat head screwdriver to get at the screws
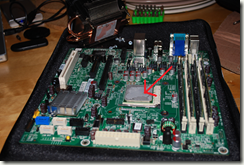
7th step – once undone, the motherboard screws (marked MHnn) can be removed and the motherboard lifted out.
8th step – heatsink/fan assembly is stuck to the CPU itself with heat paste and it should come off with a gentle pull.
The re-assembly is just the same process in reverse – the replacement motherboard kit should have a syringe of heat paste to re-apply to the heatsink/CPU.
New motherboard fitted and server has been returned to service.

Pingback: Building your own VMware vSphere lab – A step by step guide. Part 1 – Lab Overview | TechHead.co.uk
Hey man nice post!
I jus had the same problem. At my company we have 5 ML115 and just last monday I got at work and one of the servers was frozen at the boot window. After a quick look I saw that the chipset somehow overheated.
To bad the server was no longer under warranty 😦
Marcio Brito
from Brazil
That heatsink is very poor for that chipset, ml115 g1 had the same problem. So I just use a 40mm fan on it, so it keeps warm not boiling.
I had this brand and model before as home server.
Now I know how to check its internals from your pictures. thanks a lot!